Quick answer: To change your Apple ID country, go to Settings > your name > Media & Purchases > View Account > Country/Region, cancel active subscriptions first, clear your account balance, then select your new country and confirm with a valid local payment method. The same core steps apply on Mac and web, just through different apps. This guide walks you through every step, plus what to do when things go wrong. Updated for iOS 26, September 2026.
So you're stuck.
You moved to a new country. Or maybe you're just trying to download an app that's not available in your region. And now you're staring at your Apple ID settings wondering why everything feels so complicated.
I get it.
I've helped a bunch of friends and readers walk through changing their Apple ID country, and honestly? The process itself isn't hard. The confusing part is knowing what to do before you touch that Country/Region button.
That's exactly what I'm going to show you today.
By the end of this guide, you'll know exactly how to change your Apple ID region, what to prepare beforehand, and how to avoid the mistakes that trip up thousands of people in the Apple Support Community every single month.
Let's get into it.
What Does It Mean To Change Your Apple ID Country?
Here's the thing most people don't realize.
Your Apple ID isn't just a login. It's tied to a specific country or region, and that connection controls what you see on the App Store, what you can buy on Apple Music, and even which payment methods are available to you.
Think of it like a passport for your Apple account.
If your Apple ID says "United States," you'll see US pricing, US apps, and US content. Move to Qatar or the UK without updating that setting, and you'll run into walls fast — missing apps, weird pricing, broken local services.
So when your real-world location changes, your Apple Account country usually needs to change with it.
Simple concept. A little more involved in practice.
Why You Might Need To Change Your Apple ID Region
Let's talk reasons for a second, because not everyone needs this for the same purpose.
Maybe you relocated permanently and want your App Store region to match where you actually live now. Maybe you're traveling and want access to region-specific apps that only exist in certain countries. Or maybe — and this happens more than you'd think — you want to grab a local promotion or subscription price that's cheaper in another country.
Whatever your reason, here's what I want you to know upfront:
This process affects subscriptions, your account balance, and your purchase history. It's not a "flip a switch and forget it" kind of change.
So before we jump into the steps, let's talk prep work.
What You Need To Do Before Changing Your Apple ID Country
Okay, real talk.
This is the step people skip. And it's the step that causes 90% of the "why won't this work" posts I found while researching this article.
Apple requires a clean slate before letting you switch countries. Miss one of these, and that Change Country or Region button might just sit there greyed out, mocking you.
Cancel All Active Subscriptions
First things first — go cancel your subscriptions.
Apple Music, iCloud+, any app subscriptions, all of it. If you need a full walkthrough, check out my guide on how to cancel a subscription on iPhone — then actually wait for them to expire. Not just cancel and move on — wait.
Movie rentals, season passes, pre-orders? Same deal. They need to run their course or expire completely before you're allowed to proceed.
Clear Your Apple Account Balance
Next up: your Apple ID balance.
If you've got any store credit sitting there, you need to spend it down to zero. A neat trick I found in the community threads — buy something that costs slightly more than your remaining balance. The overage gets charged to your card on file, and boom, your balance clears out to nothing.
You can always check your Apple ID balance first if you're not sure how much is sitting there.
(Another good internal link opportunity — e.g., "How to View or Redeem Your Apple ID Balance.")
Have A Valid Payment Method Ready
This one trips people up constantly.
You'll likely need a payment method that's actually valid in your new country. A US-based card usually won't work when you're switching to, say, Qatar or Germany.
Don't have a local card yet? Apple sometimes lets you select "None" as your payment method, depending on the country and your account setup. But don't count on it — check what's accepted for your specific region first.
Turn Off Family Sharing (If Needed)
One more thing worth checking.
If you're part of an Apple Family Sharing group, that can block the country change too. You may need to leave or disable Family Sharing before Apple lets you proceed.
Annoying? Sure. But better to know now than get stuck mid-process.
How To Change Apple ID Country On iPhone Or iPad
Alright, here's where it gets practical.
If you're on an iPhone or iPad, this whole thing takes maybe two minutes once your prep work above is done. Let's walk through it together.
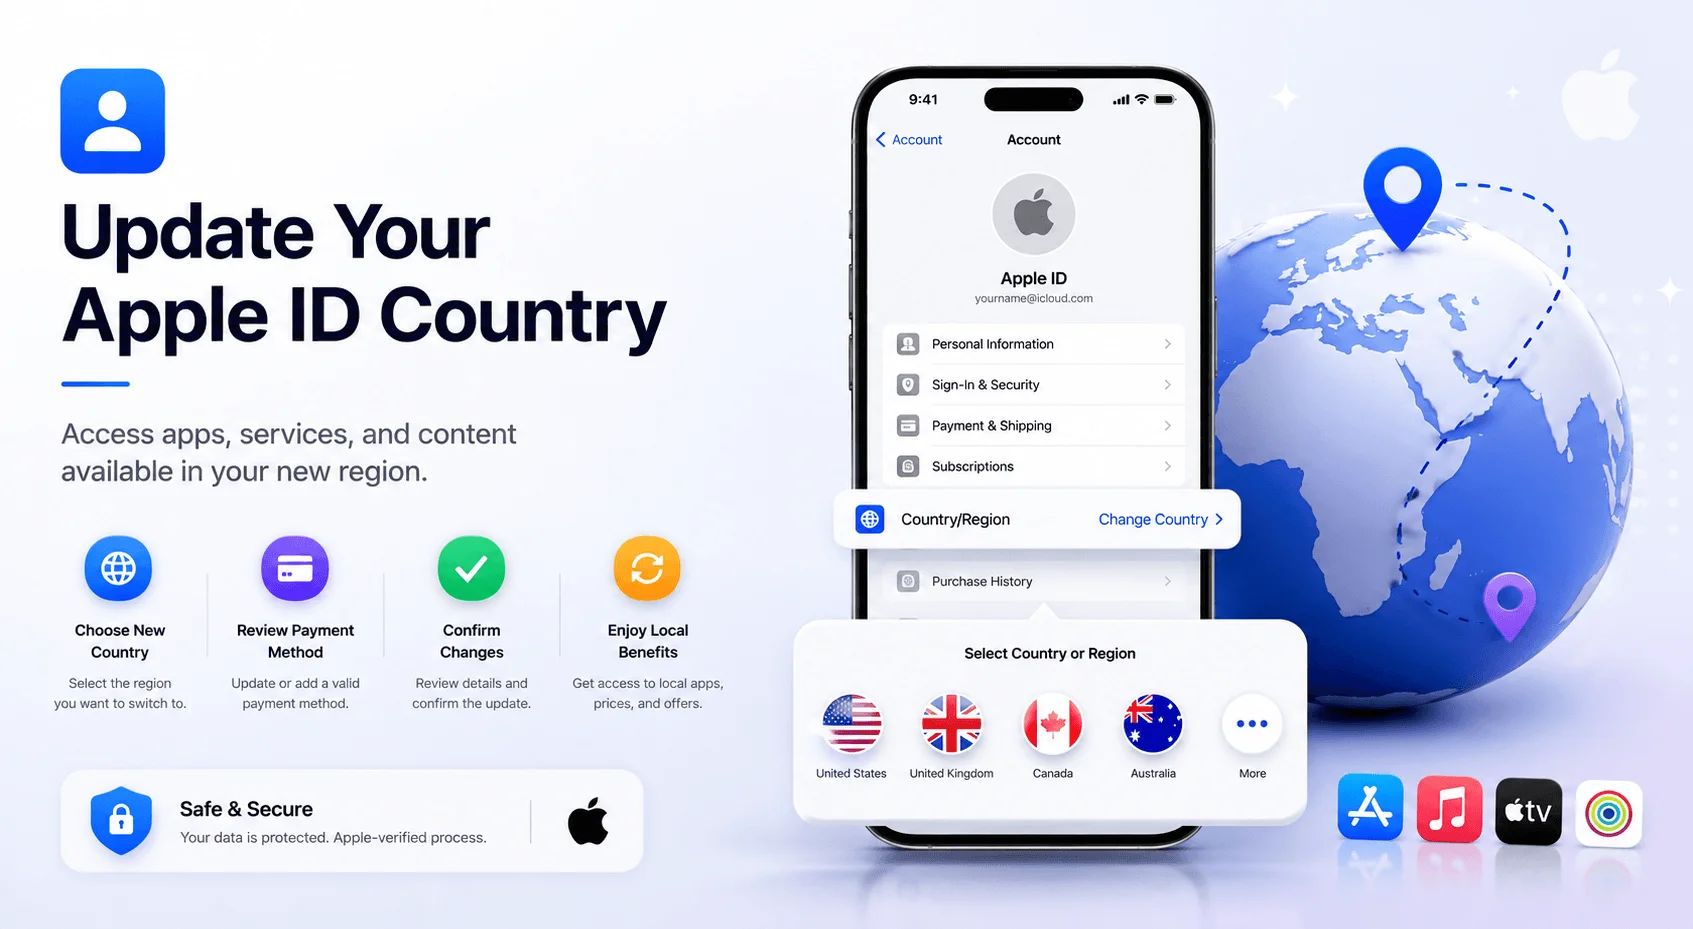
Open the Settings app on your device
Tap your name at the very top (your Apple ID)
Select Media & Purchases
Tap View Account — you might need to sign in with your password or Face ID here
Choose Country or Region
Tap Change Country or Region
Scroll through and select your new country
Review and tap Agree on the terms and conditions
Enter a valid payment method and billing address for the new country
Tap Next to finish up
And that's it. Your Apple ID country settings are officially updated.
Give it a moment — sometimes the App Store needs a few seconds (or a restart) to fully reflect the new region.
While you're in your Apple ID settings, it's also worth bookmarking my guide on how to unblock a number on iPhone handy if you run into contact or call issues during a move.
How To Change Apple ID Country On Mac
Now, if you're working from a Mac, the steps look a little different but follow the same logic.
You can do this through the App Store, Apple Music, or the Apple TV app — whichever you've got open. I'll walk you through the App Store version since it's the most common route.
Open the App Store app on your Mac
Click your name in the bottom-left corner (or click Sign In first, if needed)
Click Account Settings at the top
Sign in again if it asks you to
In the Apple Account Summary section, click Change Country or Region
Choose your new country from the pop-up menu
Follow the on-screen prompts to confirm
This mirrors Apple's own official Mac instructions, so you know it's accurate.
Same rules apply here too — cleared balance, cancelled subscriptions, valid payment method. No shortcuts around that part, unfortunately.
How To Change Apple ID Country On Windows Or Web
Don't have a Mac? No worries — you've still got options.
If you're on a Windows PC, you can go through iTunes or the Apple Music app depending on what you've got installed. Open the sidebar, click your name, then select View My Account, and you'll land on the same Country/Region settings screen described above.
Prefer working from a browser instead? You can also manage this through your Apple Account online. Sign in, locate your personal information or account settings, and look for the Country/Region option there.
Honestly, whichever device you use, the underlying flow stays pretty consistent. Sign in, find Country/Region, pick your new country, confirm the terms, update your payment info. Done.
What Happens After You Change Your Apple ID Country
So you've made the switch. Now what?
Here's what actually changes — and what stays the same.
Your Apple ID data, like your photos, contacts, and iCloud content, stays completely intact. That part doesn't get touched.
But your App Store content availability? That absolutely shifts. Apps that were only available in your old region might vanish from your library or stop receiving updates. That's just how regional App Store licensing works — Apple can't offer every app in every country due to legal and licensing agreements.
Your pricing, currency, and available subscriptions will also update to match your new country. So don't be surprised if that app you were paying $2.99 for suddenly shows a different price tag.
Good news, though — this isn't permanent. You can always repeat these same steps to switch your Apple ID country back if you move again or change your mind.
If you're setting up devices fresh in your new region, you might also find my guide on how to connect your Apple Pencil to iPad useful for getting everything back up and running
Changing Your Existing Apple ID vs. Creating A New Regional Apple ID
Quick but important consideration before you go through with this.
Changing your existing Apple ID's country is essentially permanent in the sense that it affects everything moving forward, and reversing it means going through the whole process again. Some people prefer a different approach entirely: keeping their original Apple ID untouched and creating a separate regional Apple ID just for accessing another country's App Store.
Here's a quick side-by-side to help you decide:
Factor | Change Existing Apple ID | Create New Regional Apple ID |
|---|---|---|
Best for | Permanent relocation | Occasional access to region-locked apps |
Purchase history | Stays with the account | Starts fresh, separate history |
Subscriptions | Must cancel and wait to expire first | Not affected on primary account |
Family Sharing | May need to be disabled first | Not affected on primary account |
iCloud data | Untouched | Separate iCloud environment |
Setup effort | Higher (balance, subscriptions, payment method) | Lower (just sign up in-region) |
Reversibility | Repeatable, but takes time each time | Simply stop using the secondary ID |
There's no universally "right" answer here. If you're permanently relocating, updating your existing Apple ID's country usually makes more sense. If you just want occasional access to another region's apps, a secondary account might save you a headache.
Common Problems People Run Into (And How To Fix Them)
Let me save you some frustration here.
While researching this, I dug through a bunch of real questions on the Apple Support Community, and the same handful of issues kept popping up over and over.
The "Change Country or Region" Button Is Greyed Out
This is probably the #1 complaint I found.
Usually it comes down to one of the prep steps we covered earlier — an active subscription, remaining balance, or Family Sharing still being turned on. Double-check all three before assuming something's broken.
You Don't Have A Local Payment Method
If you don't have a card from your new country yet, check Apple's accepted payment methods list for that specific region. In some cases, "None" is available as an option — but that varies by country.
Your Balance Won't Clear
If your remaining Apple ID balance is smaller than the cheapest item in the store, you might get stuck. The workaround? Contact Apple Support directly and ask them to zero out the balance for you.
It Won't Let You Proceed At All
If you've done everything above and you're still hitting walls, it's time to just reach out. Apple has a page to choose your country or region for support that connects you with a real person via chat or phone.
Sometimes an account just needs a human to sort it out. And that's completely fine.
Frequently Asked Questions
How long does it take to change your Apple ID country?
Once your subscriptions are cancelled and your balance is cleared, the actual switch usually takes just a few minutes. The App Store may need a restart to fully reflect the new region.
Can I change my Apple ID country more than once?
Yes. There's no hard limit mentioned by Apple, but you'll need to repeat the full prep process — clearing balance, cancelling subscriptions — every time you switch.
Will I lose my apps if I change my Apple ID country?
Your data stays intact, but apps exclusive to your old region may disappear from your library or stop receiving updates, since app availability is tied to regional licensing.
Do I need a local payment method to change countries?
In most cases, yes — Apple typically requires a payment method valid in the destination country. Some regions allow "None" as an option, but this isn't guaranteed everywhere.
What if the Change Country or Region option is greyed out?
This almost always means you still have an active subscription, remaining account balance, or Family Sharing enabled. Clear all three and the option should become available.
Is changing my Apple ID country the same as using a VPN?
No. A VPN only masks your location for browsing — it doesn't change your Apple ID's actual country setting, and it won't unlock region-specific App Store content or pricing.
Final Thoughts
Look, changing your Apple ID country or region isn't complicated once you know the steps.
The real work happens before you even open Settings — clearing subscriptions, zeroing your balance, and lining up a payment method that actually works in your new country.
Do that groundwork, follow the steps I laid out above, and you'll have your account updated in a few minutes flat.
And hey, if you run into a snag along the way, you're definitely not the first person to hit that wall — the official Apple support article and their community forums are packed with people who've been exactly where you are right now.
You've got this.