You can recover deleted files by checking the Recycle Bin or Trash first, then trying built-in tools like Windows File Recovery, File History, or Time Machine, and finally turning to data recovery software like Disk Drill if those don't work. Recovery is possible because deleted files aren't erased immediately, they're marked as free space until something overwrites them. Act fast and avoid using the affected drive, and your odds of getting the file back go up significantly.
Losing a file feels like a small heart attack, doesn't it? One second it's there. The next, it's gone. And your brain immediately jumps to worst-case scenarios.
Here's the good news: most deleted files aren't actually gone. Not right away, anyway.
I've put together this guide to walk you through exactly how to recover deleted files, whether you're on Windows, Mac, or dealing with an external drive. No fluff. Just the steps that actually work.
Let's get into it.
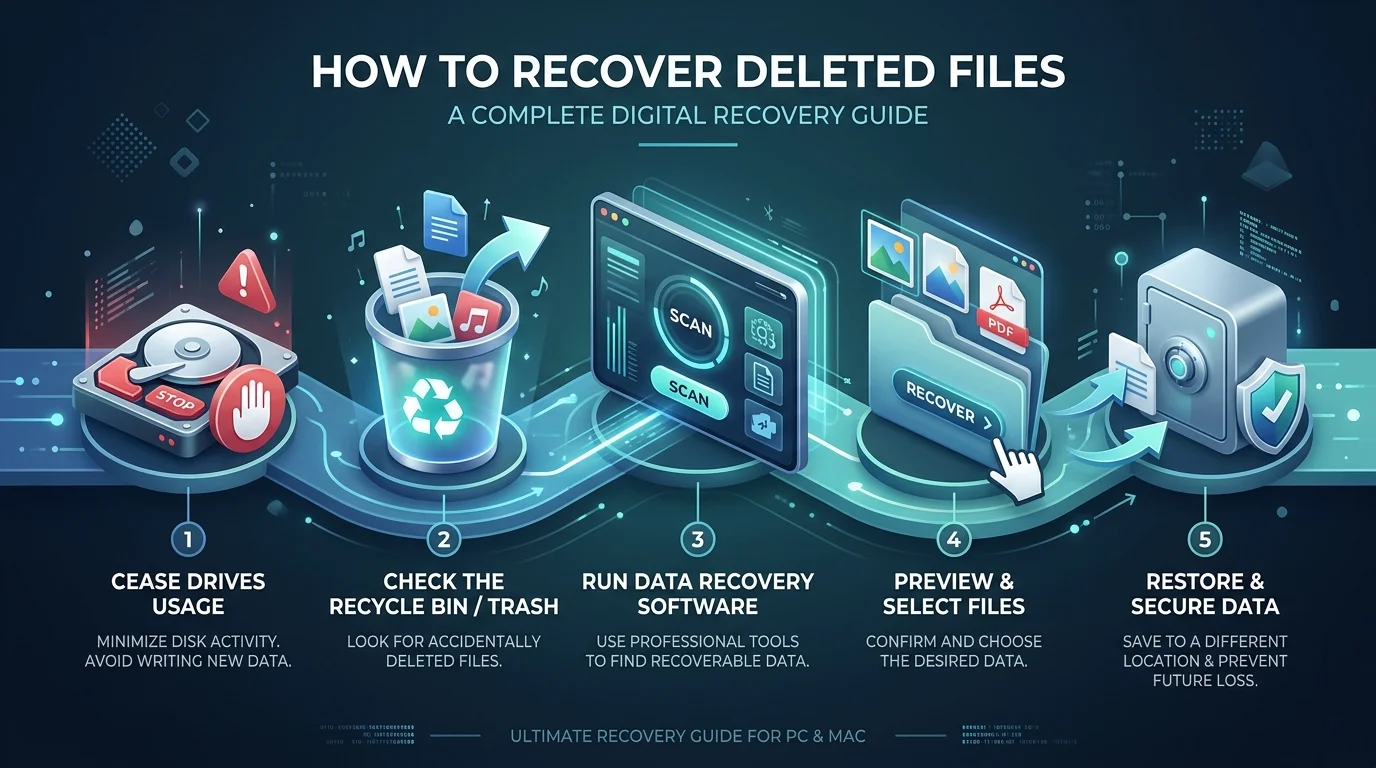
Why Deleted Files Aren't Really "Deleted"
Before you panic, you need to understand something important.
When you delete a file, your operating system doesn't wipe it off the drive immediately. Instead, it just marks that space as available. According to Microsoft's own documentation, the space used by a deleted file is marked as free space, which means the file data can still exist and be recovered. But here's the catch: any new activity on your computer can overwrite that space at any time.
So the golden rule of file recovery is simple: stop using the affected drive immediately.
Every download, every save, every app update is a chance for your deleted file's data to get overwritten forever. If you take one thing away from this section, let it be that.
Worth noting: this is also why the data recovery software market has grown so much. The global market is projected to grow from USD 18.84 billion in 2026 to USD 39.12 billion by 2035, according to Industry Research Biz. More devices, more storage, more chances for something to go wrong, and more people needing a reliable way to fix it.
Step 1: Check the Recycle Bin First
This sounds obvious. But you'd be surprised how many people skip it in a panic.
Your Recycle Bin (or Trash on Mac) is the first line of defense against accidental deletion. Files sit here for a while before they're truly gone, so this should always be your starting point.
How to Restore From the Recycle Bin
Double-click the Recycle Bin icon on your desktop
Sort files by date deleted, if you're hunting for something specific
Right-click the file you want back
Select Restore
That's it. The file goes right back to where it came from.
And if you catch the deletion right away? Press Ctrl+Z in the folder you deleted from. This triggers an undo delete action instantly, before you even need to open the Recycle Bin.
Step 2: Try Windows File Recovery (For Windows Users)
If the Recycle Bin is empty, don't lose hope yet.
Microsoft actually built a free tool specifically for this situation. It's called Windows File Recovery, and it's a command-line utility available through the Microsoft Store for Windows 10 (version 2004 and later) and Windows 11.
It has two recovery modes, and picking the right one matters:
Regular mode — best for files deleted recently, on a healthy NTFS drive
Extensive mode — for trickier cases, like formatted drives or files deleted a while back
Quick Syntax Example
Here's what a basic command looks like, according to Microsoft's official guide:
winfr C: E: /regular /n \Users\<username>\Documents\This recovers your Documents folder from your C: drive and saves everything to an E: drive. Notice the source and destination drives are different. That's required. You can't recover to the same drive you're scanning.
It's not the friendliest interface. It's command-line only, and you'll need to learn a bit of syntax. But it's free, and it's built directly into Windows, which counts for something.
Step 3: Use File History or System Restore
If you've ever set up File History on Windows, this is your moment to feel smart for past-you's decision-making.
File History quietly saves versions of your files to an external drive or network location over time. Per Microsoft Support, you can browse through different saved versions and restore whichever one you need.
Steps to Recover With File History
Search "Restore your files with File History" in the Windows search bar
Browse through available backup versions
Select the file or folder you need
Click Restore
One catch, though: this only works if you enabled File History before you lost the file. It's not retroactive. If you've never turned it on, this method's a dead end, unfortunately.
Pro tip: turn it on today, even if you don't need it right now. And if local backups feel limiting, pairing File History with a cloud option is worth considering, our best cloud storage services comparison breaks down which providers back up your files automatically. Future-you will thank present-you.
Step 4: Recovering Deleted Files on a Mac
Mac users, I haven't forgotten about you.
If you're backing up with Time Machine, Apple makes this pretty painless. According to Apple's official support page, you can use Spotlight to search Time Machine backups directly and recover lost or deleted items.
How to Restore Files With Time Machine
Open a Finder window for the folder the file used to live in
Click the Time Machine icon in your menu bar
Select Browse Time Machine backups
Use the timeline to scroll back to before the deletion
Select the file and click Restore
If your entire drive is damaged, Apple notes that you'll need to reinstall macOS first, then use Migration Assistant to pull everything back from your Time Machine backup. It's a bigger job, but it works.
Step 5: When Native Tools Fail, Bring In the Pros
Sometimes the built-in tools just aren't enough. Maybe you formatted the drive. Maybe it's been months. Maybe the Recycle Bin was already emptied and File History was never set up (we've all been there).
This is where data recovery software earns its keep.
Independent testing from TechRadar and multiple other reviewers consistently points to a small handful of standout tools. These programs work by scanning for unallocated space on your drive and reconstructing file data through a process called file carving, essentially digital archaeology, piecing files back together from fragments.
Comparison Table: Best Data Recovery Software (2026)
Tool | Best For | Platform | Free Tier | Skill Level |
|---|---|---|---|---|
Disk Drill | All-around use, beginners | Windows, Mac | Yes (limited MB) | Beginner-friendly |
EaseUS Data Recovery Wizard | Photos, general files | Windows, Mac | Yes (2GB) | Beginner-friendly |
R-Studio | RAID arrays, damaged partitions | Windows, Mac, Linux | Trial only | Advanced |
Recuva | Recent, simple deletions | Windows | Yes (full) | Beginner-friendly |
PhotoRec | Free deep scans, all file types | Windows, Mac, Linux | Yes (full) | Intermediate |
Here's my honest take: if the file matters to you, a strong recovery tool is worth the investment. Free tools can absolutely work for simple, recent deletions. But for anything more serious, formatted drives, corrupted partitions, RAID failures, paid software with deeper scanning capabilities gives you a real shot at getting your data back instead of gambling on a limited free scan.
Common Mistakes to Avoid
You want to avoid these missteps, since they can turn a recoverable situation into a permanent loss.
Continuing to use the drive. Every new file you save is a chance to overwrite the data you're trying to recover.
Installing recovery software onto the same drive you're scanning. Always install it on a different drive.
Waiting too long. The longer you wait, the higher the chance of overwriting.
Assuming a quick format erases everything. It often doesn't. A quick format usually leaves recoverable data behind, especially on a conventional hard drive.
Skipping backups after recovery. If you got the file back, set up File History or Time Machine now so you're not back here next month. If you're still deciding where to store those backups, check out these free cloud storage plans for 2026 for options that won't cost you anything.
Frequently Asked Questions
Can I recover permanently deleted files?
Yes, in many cases. As long as the storage sectors haven't been overwritten, recovery software can retrieve the file's data even after it's been removed from the Recycle Bin or Trash.
How long do files stay in the Recycle Bin?
It varies by system and settings, but files typically remain until the Recycle Bin is manually emptied or reaches a storage limit set by your OS.
Does deleting a file on an SSD work the same way as on a hard drive?
Not exactly. SSDs use a feature called TRIM, which can permanently clear deleted data much faster than on traditional hard drives, making recovery less reliable.
Do I need different software for Windows versus Mac?
Not necessarily. Tools like Disk Drill and EaseUS support both platforms, though some advanced tools like R-Studio have platform-specific strengths.
Is free data recovery software safe to use?
Generally yes, if you download from the official vendor site. Tools like Recuva and PhotoRec are widely used and well-reviewed, though free tiers may cap the amount of data you can recover.
What if I don't have a backup at all?
Third-party data recovery software is your best bet. If the file is critical and software doesn't work, a professional data recovery service can attempt recovery at the hardware level.
Final Thoughts
Losing a file is stressful, but it's rarely the end of the story.
Start with the free, built-in options, the Recycle Bin, Windows File Recovery, File History, or Time Machine. If those come up empty, a trusted data recovery software tool like Disk Drill or EaseUS gives you a real shot at getting your files back, even from formatted or damaged drives.
The one thing you shouldn't do is wait. The sooner you act, the better your odds.
And once your files are safe? Set up a proper backup system today, so you're never in this position again.